Portraits
Lighting Techniques + Posing Guidelines
|
|
|
Self- Portraits: Home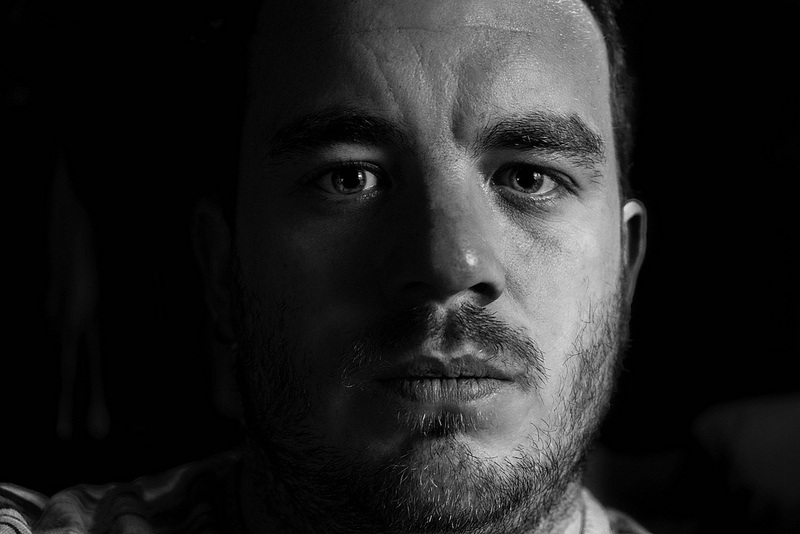
Self Portrait - Home Shoot20 Self Portraits: 10 low key and 10 macro/your choice: Specific criteria below
|
Digital Studio Portraits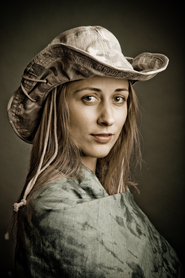
Digital portraits - in class
20 digital portraits: Using 4 different lighting techniques and the guidelines for posing. The Goal is to convey personality/mood.
|
| selfie_criteria.docx |
|
|
|
|
|
|
|
|
|
EXPERIMENTAL PORTRAITS
Using either an image from your candid shoot, or another portrait from the last two shoots you did, choose an "experimental" approach to editing the portrait.
Options listed below!
Options listed below!
Experimental Portraits
Double Exposure
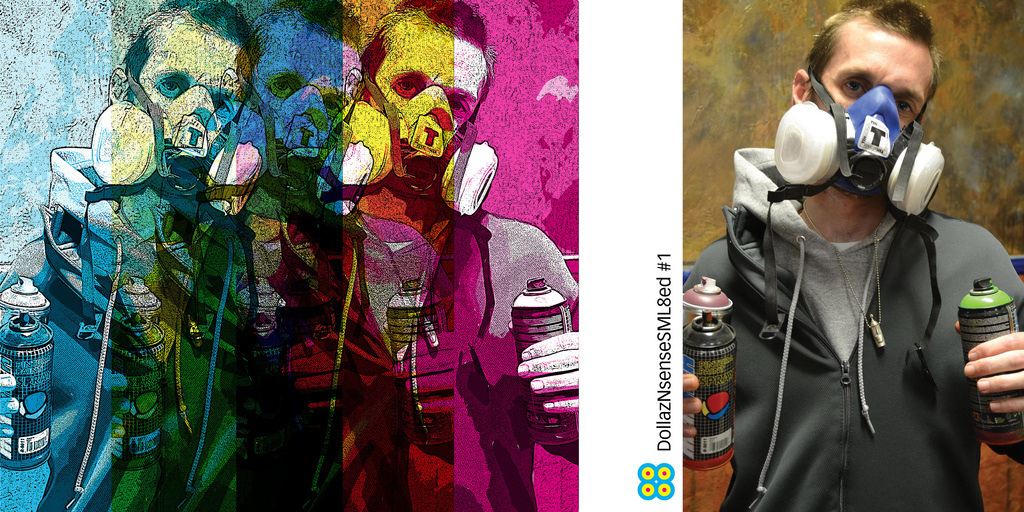
CMYK
Triptych – A Set of 3
by Alessio Albi
by Adde Adesokan
How to make a Double Exposure Portrait: https://www.youtube.com/watch?v=GesHc9y_zVY
Learn about CMYK:
http://www.photoshop.com/tutorials/19518
Tutorials:
-Montaged Layers: Use 4 different photos and 4 separate CMYK colors for each – look at this image and think about how they did it: HINT: Gradient Map Adjustment Layer!!
http://www.lostateminor.com/2010/10/13/made2share-exhibition-in-sydney/
OR
-Photo Dissection: Separate the CMYK channels of a single image and print onto a transparency for a cool 3D effect
http://www.abeautifulmess.com/2014/07/cmyk-photo-dissection-display.html
Open up a new document 13x19 – resize your images and drag them on (after properly editing and sizing)
Create 2 experimental portraits – both 13x19 with a 300 DPI. You may choose 2 of the 4 listed above, or find another technique. You must have a tutorial approved if you are not using one from this list.
FINISH both before uploading to Weebly – the one you like the best put a P at the end of the file name.
EXAMPLE: Fountain_experimental1P.jpg
Double Exposure
CMYK
Triptych – A Set of 3
by Alessio Albi
by Adde Adesokan
How to make a Double Exposure Portrait: https://www.youtube.com/watch?v=GesHc9y_zVY
Learn about CMYK:
http://www.photoshop.com/tutorials/19518
Tutorials:
-Montaged Layers: Use 4 different photos and 4 separate CMYK colors for each – look at this image and think about how they did it: HINT: Gradient Map Adjustment Layer!!
http://www.lostateminor.com/2010/10/13/made2share-exhibition-in-sydney/
OR
-Photo Dissection: Separate the CMYK channels of a single image and print onto a transparency for a cool 3D effect
http://www.abeautifulmess.com/2014/07/cmyk-photo-dissection-display.html
Open up a new document 13x19 – resize your images and drag them on (after properly editing and sizing)
Create 2 experimental portraits – both 13x19 with a 300 DPI. You may choose 2 of the 4 listed above, or find another technique. You must have a tutorial approved if you are not using one from this list.
FINISH both before uploading to Weebly – the one you like the best put a P at the end of the file name.
EXAMPLE: Fountain_experimental1P.jpg
Portrait Research - Choose one portrait photographer from the powerpoint and complete the outline
| famous_portrait_photographers.pptx |
